Calligraphers are generally serious, quietly academic types. Or were, in the days of formal lettering required to be a ‘proper businessman’. However, I’m blessed with a childish sense of humour I should have grown out of twenty years ago.
Still.
I’m going to take you on a journey from shaft to flange, via tips and teeth, to explain how a calligraphy pen and nib set both looks and works. Apologies for any puerile content – blame the manufacturers!
Let’s start with a basic, straight dip pen. These are mainly used for old-school italic, roman and gothic calligraphy, but can work for modern calligraphy too. I should clarify: when I talk about modern calligraphy I mean all those loose variations of very informal copperplate, made with a ‘pointed’ pen (i.e. nib).
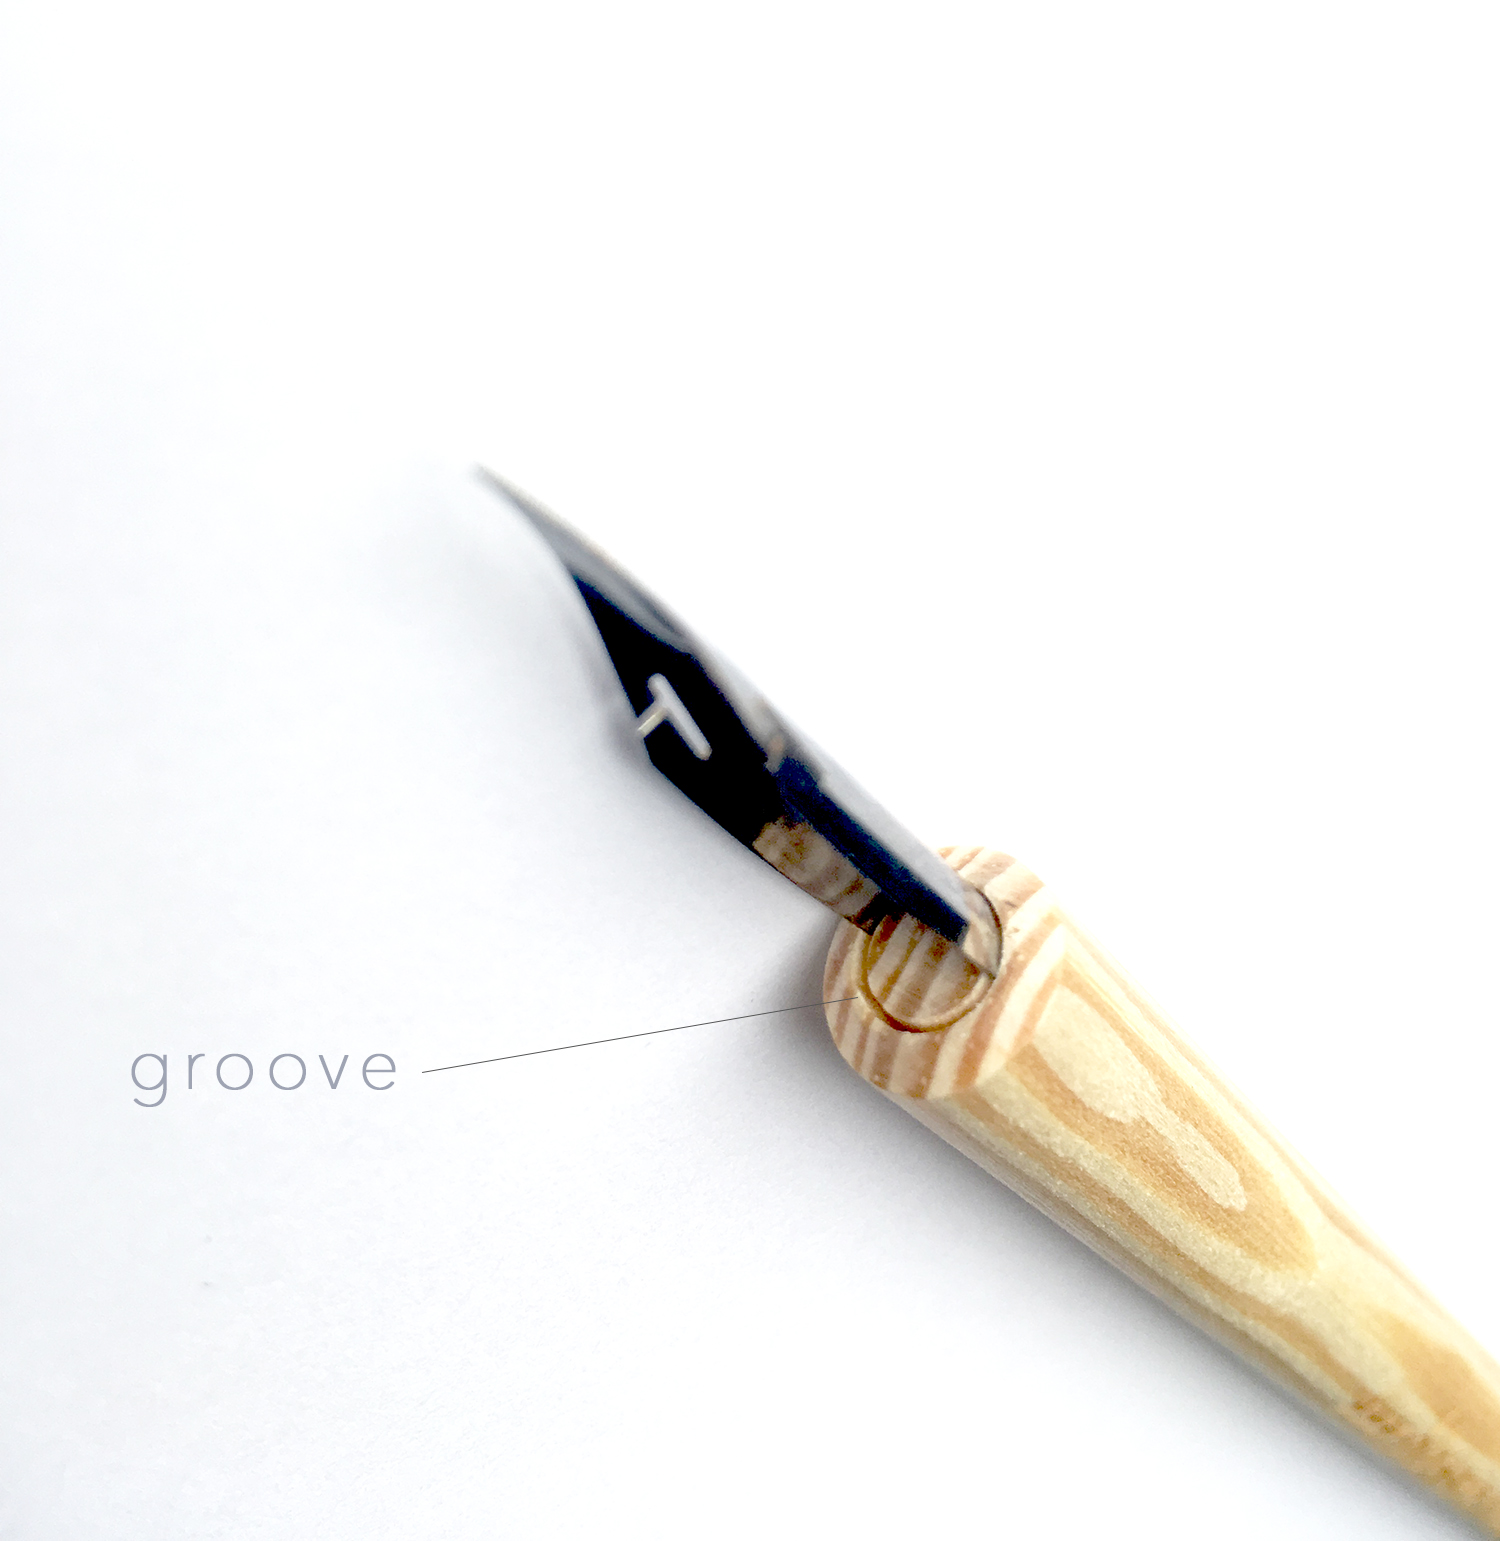
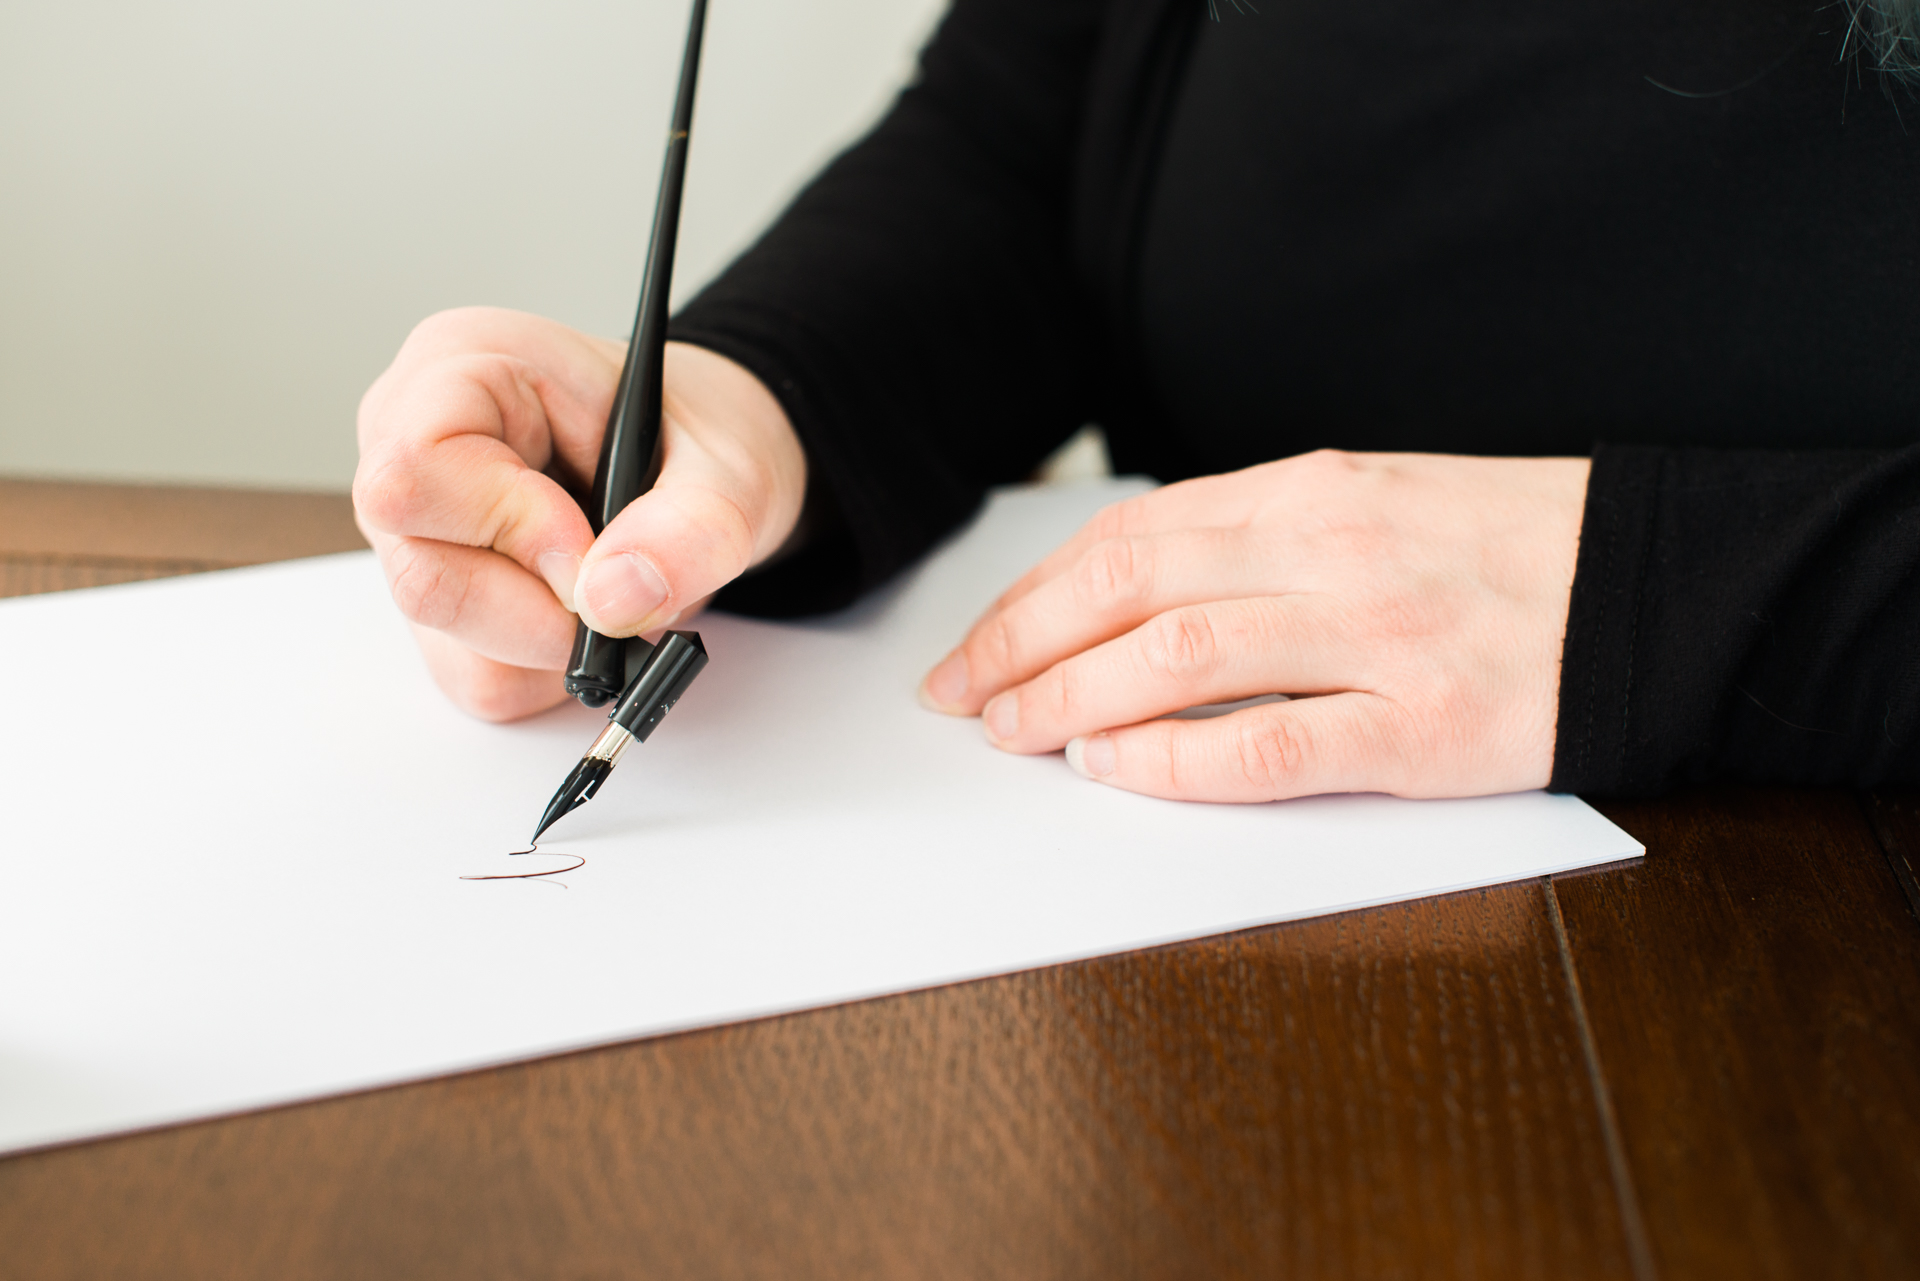
So the dip pen is simply a straight shaft of wood or plastic, with a slot at the wide end in which the nib is inserted. Some dip pens have a circular or semi-circular groove cut into the end – your nib will just slot into this until if feels firmly held.
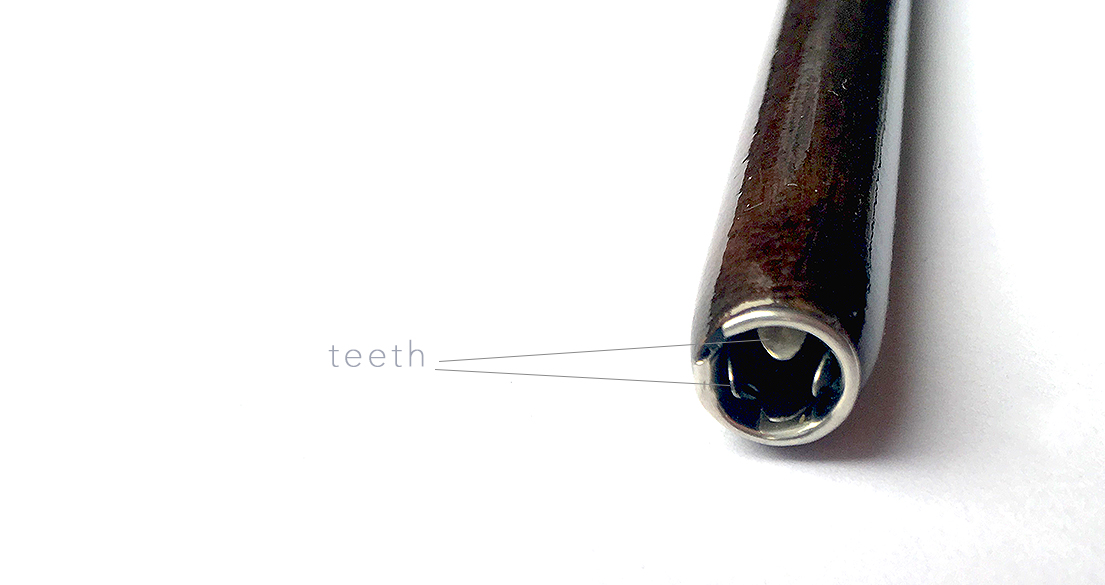
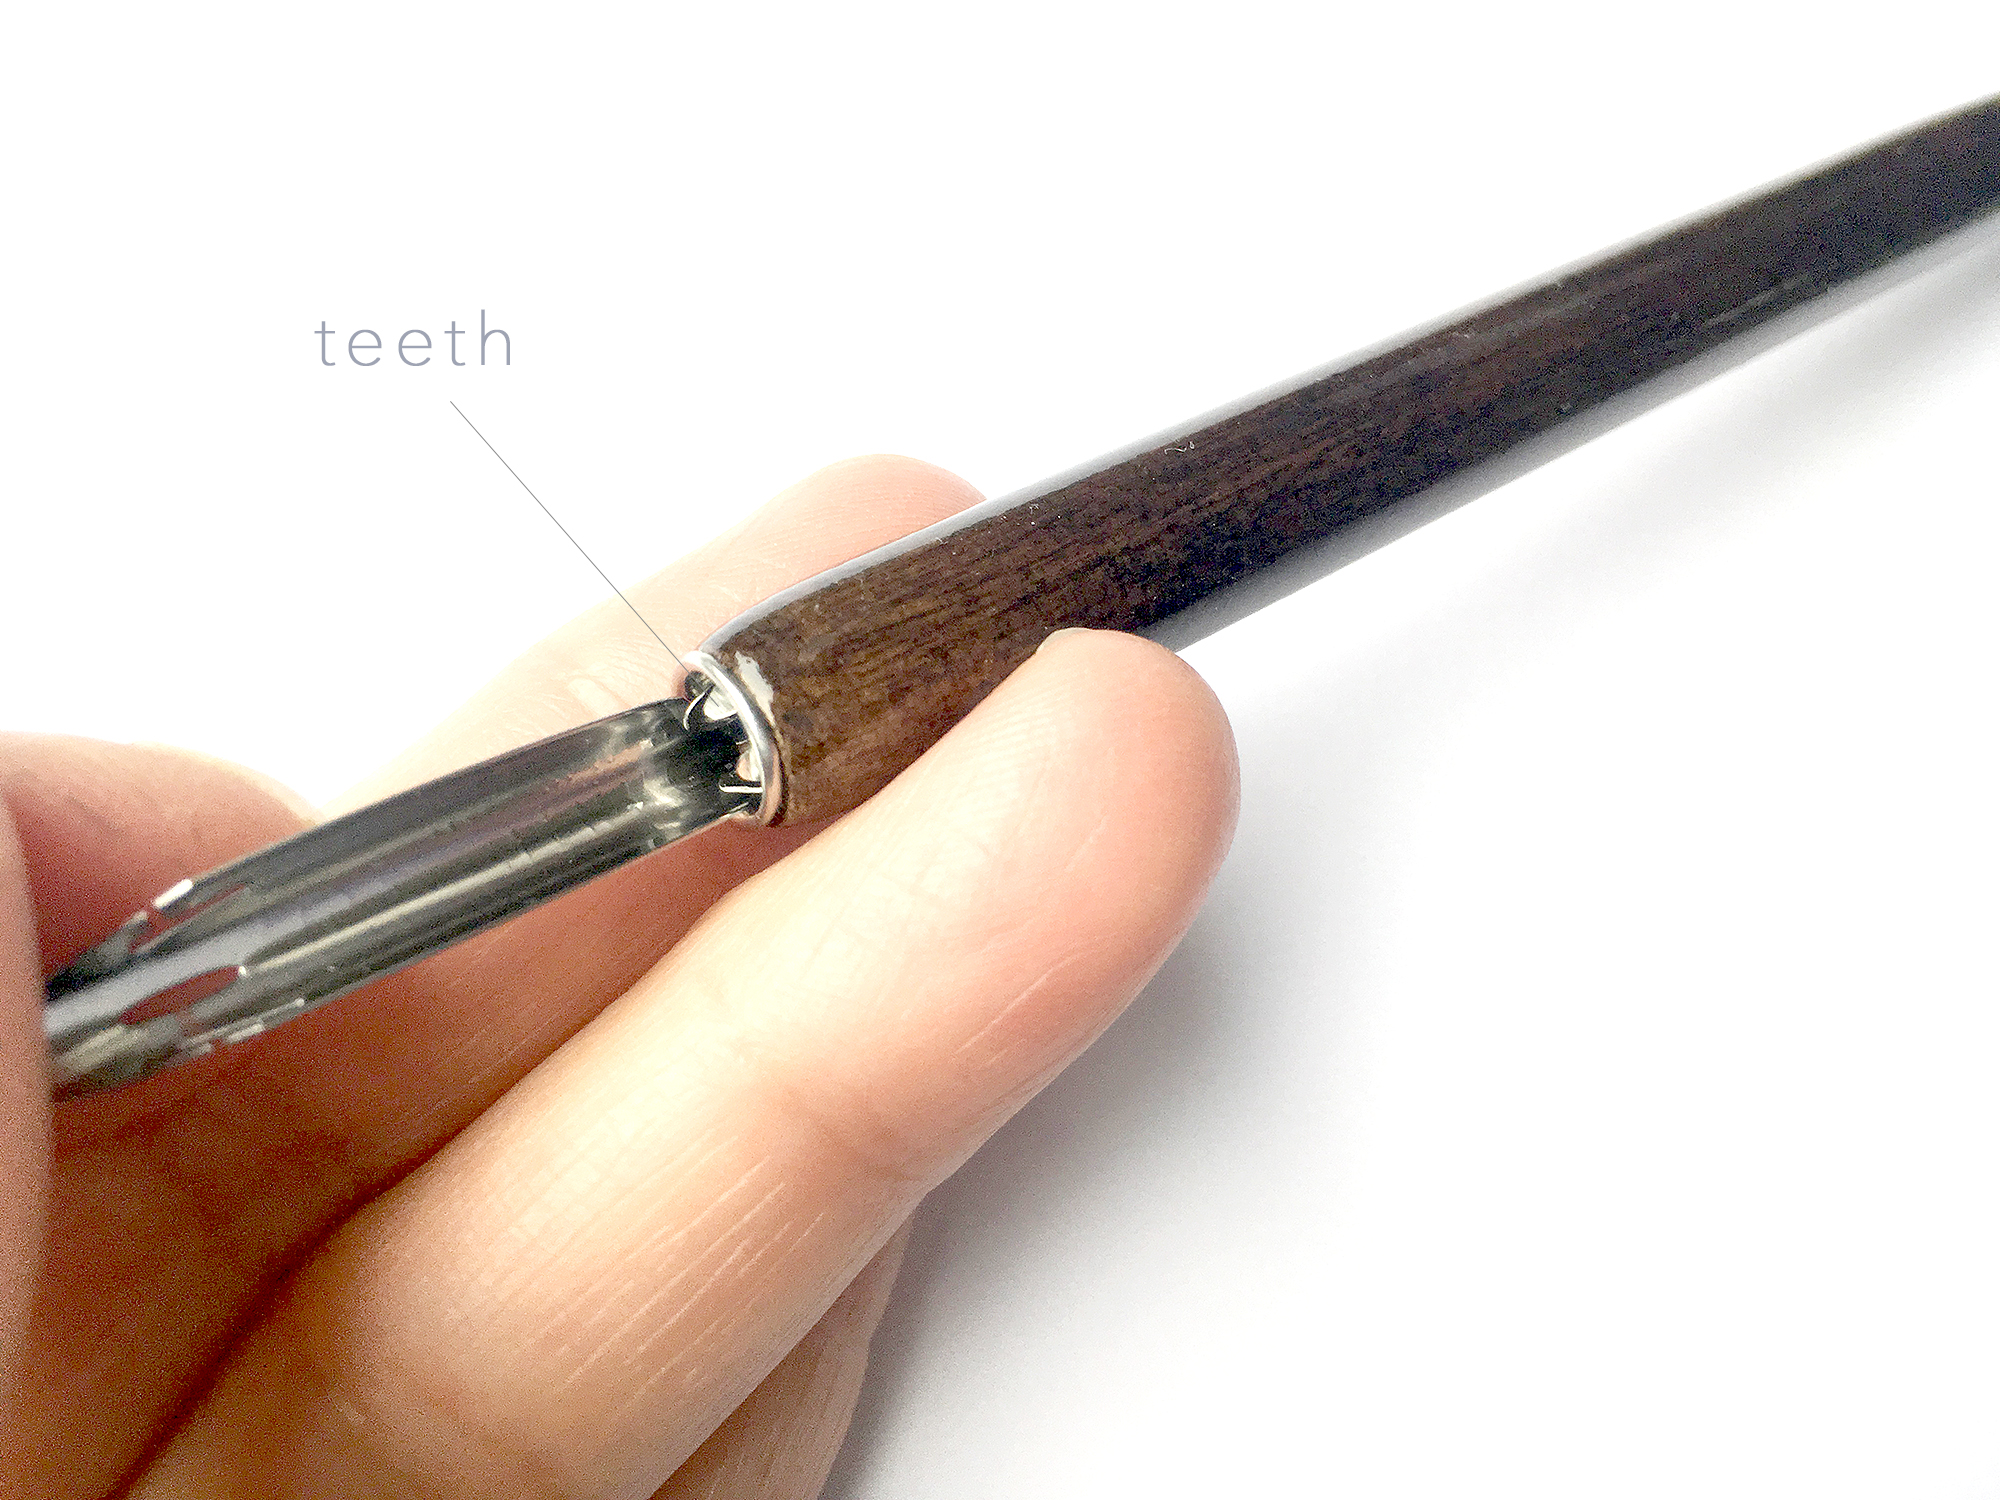
Others have teeth – but ignore those! Your nib should slot into the circular gap around the outside of the teeth (as shown in the photo below).
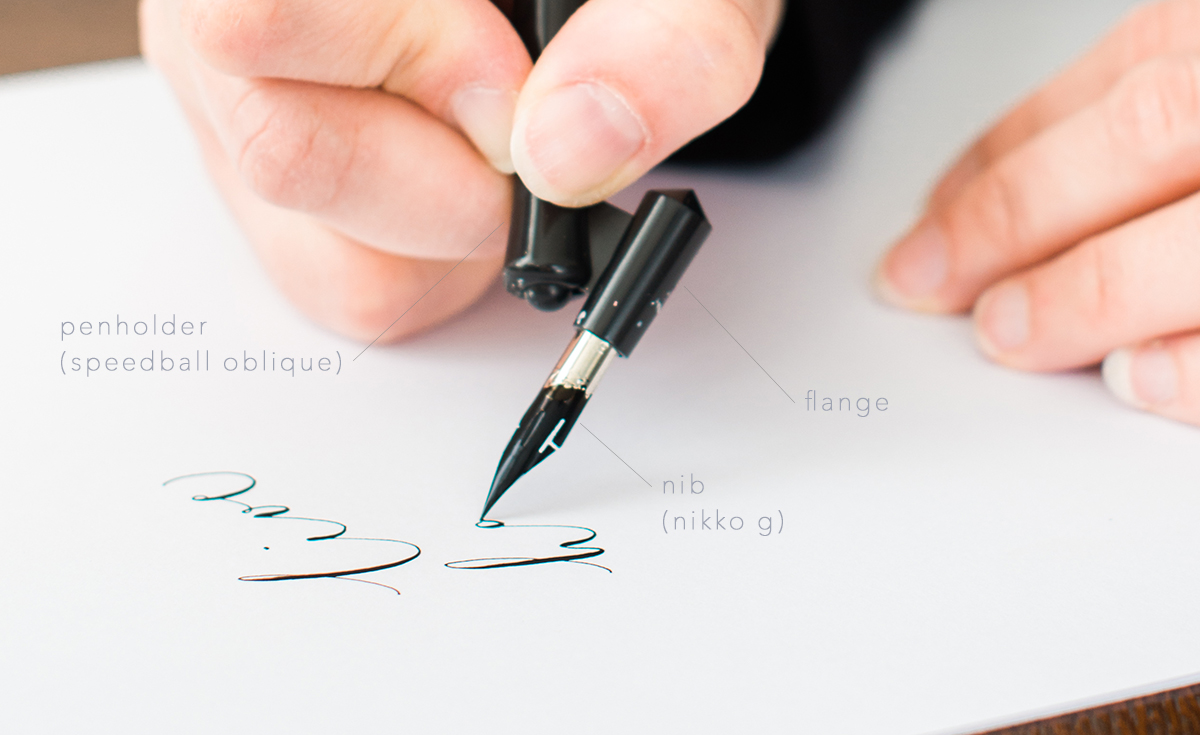
With a straight pen, it can be tricky for right-handers to achieve the correct pen angle for modern calligraphy lettering. This is why the oblique penholder exists. The extra piece (flange) on the side of an oblique penholder always sits to the left, and means your nib will point more to the right than it would with a straight pen. Oblique holders look trickier than they are. Try one and see!
Join me for a calligraphy workshop in Manchester: online booking & info – modern calligraphy workshops
Buy a modern calligraphy starter kit and begin your calligraphy adventures today! These include the oblique penholder I use every day!