Chalkboards, blackboards – my memories from school are very different from the art I see on Pinterest and Insta nowadays!
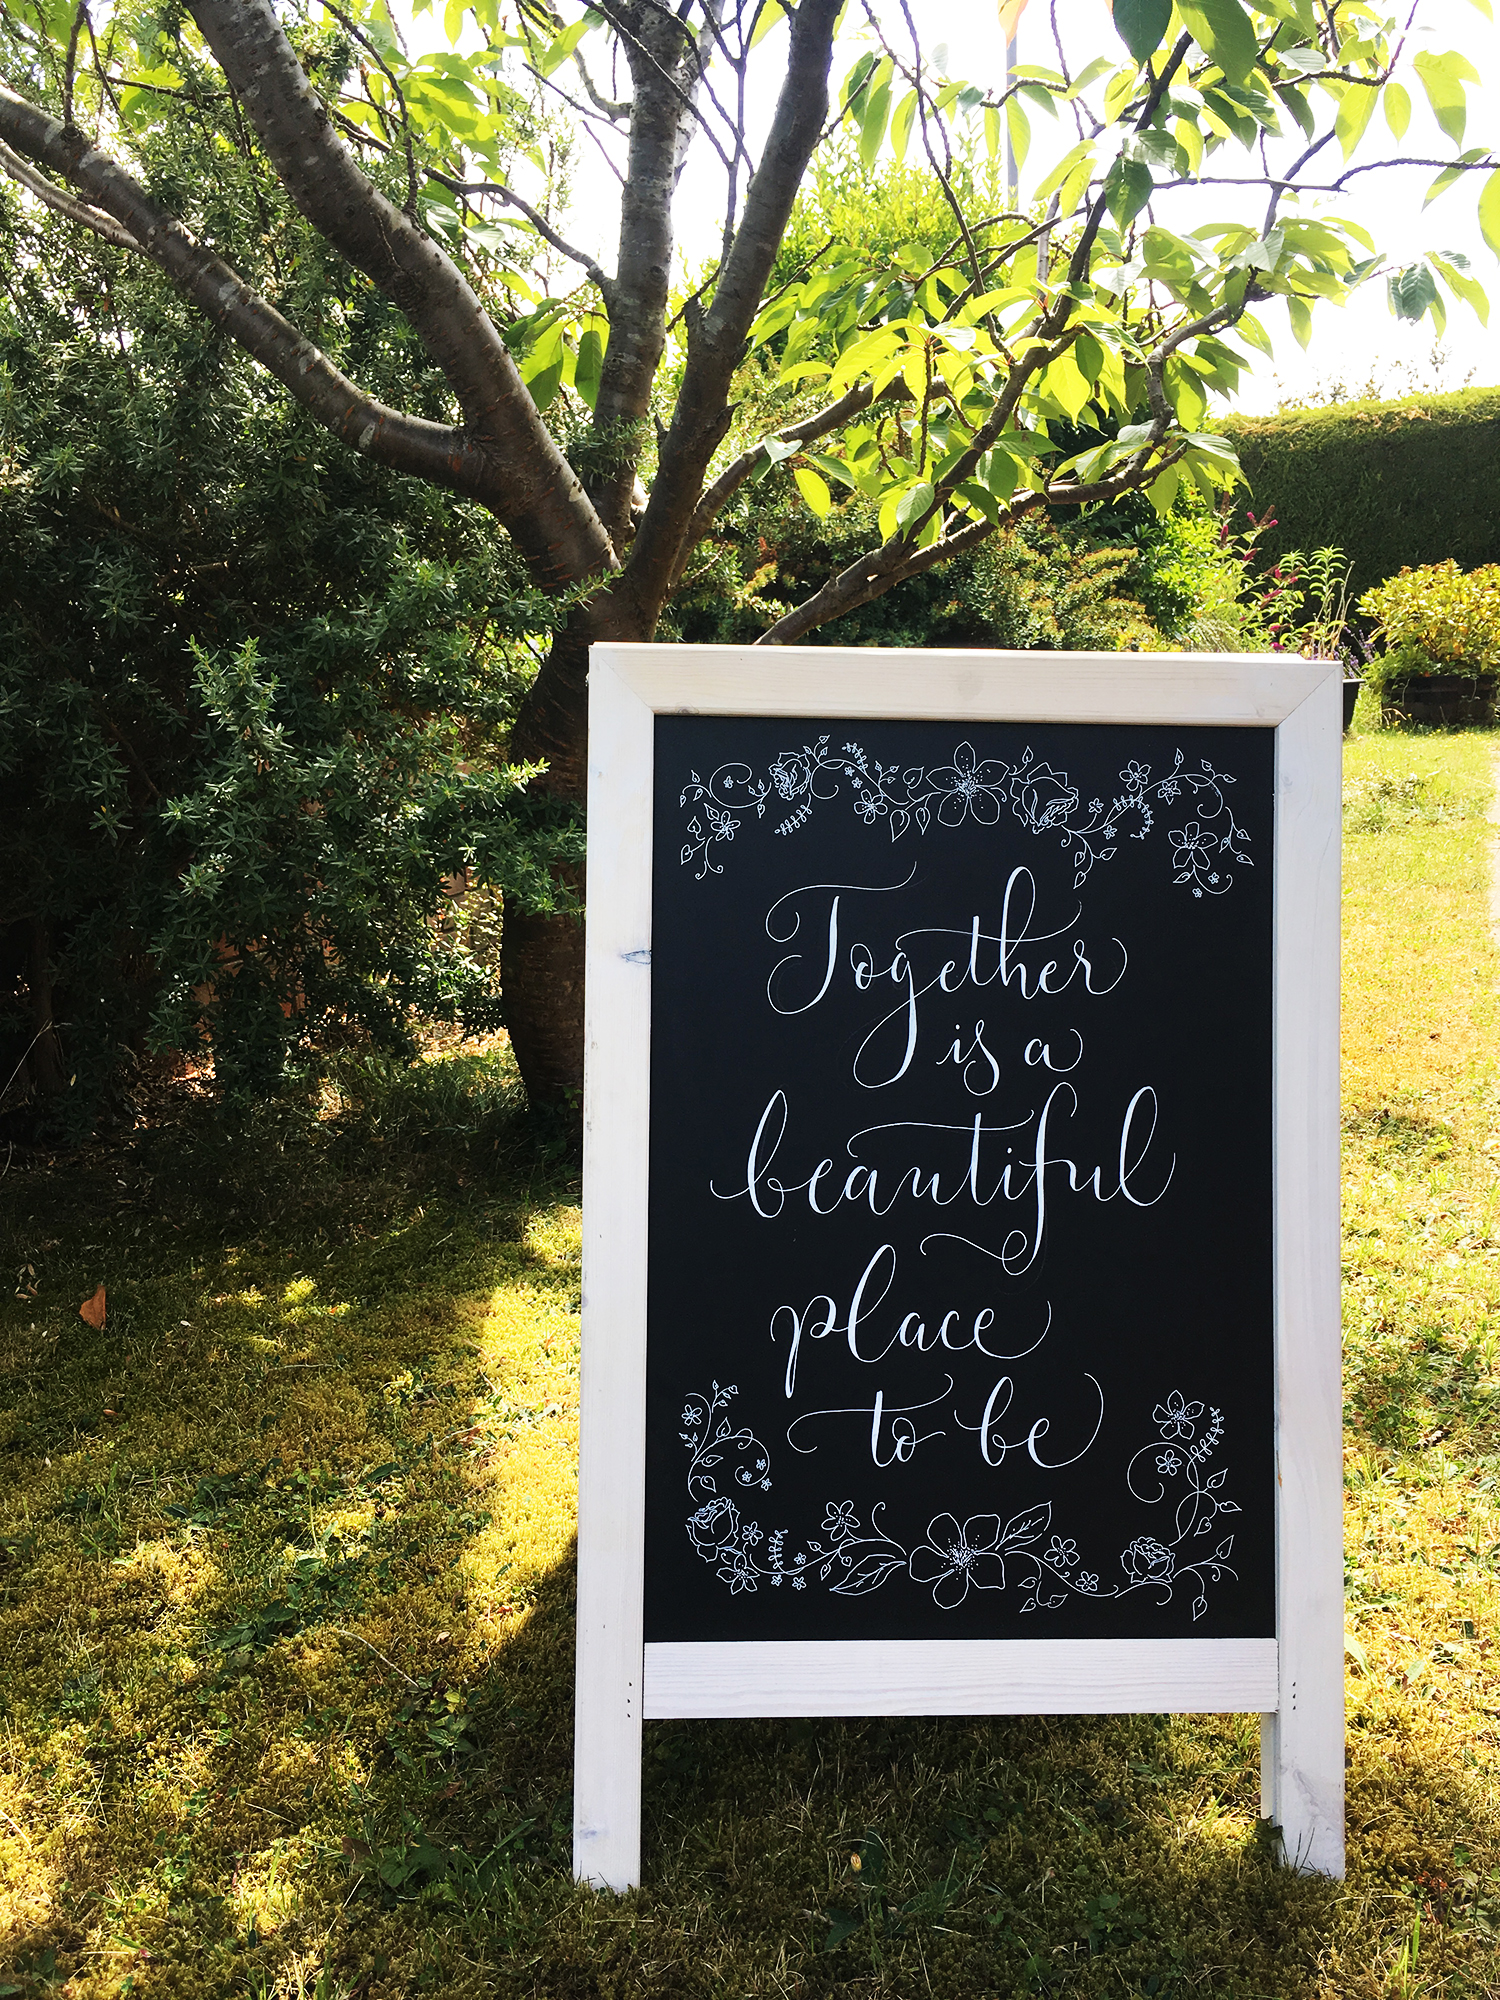
Not only has their name changed – is ‘chalkboard’ an American thing? a wedding thing? – but their purpose has too. Chalkboards now are for welcoming guests to your wedding, for displaying your seating plan and setting out the order of the day for all to see. They’re also lots of fun to write!
The key thing to know is that ‘chalkboard’ is misleading. No one writes on these things with chalk: you need a good quality white marker – ideally a few, in different sizes. I use POSCA brush pens and white bullet tip markers.
Whether you’re writing a 7 word welcome sign or a table plan for 100 guests, you’ll need to plan your layout before you do anything else. Scribble a rough plan on paper first. Aim to fill the entire chalkboard with your wording – don’t leave a huge space at the top or bottom, and try to space your words evenly. This is how I do it.
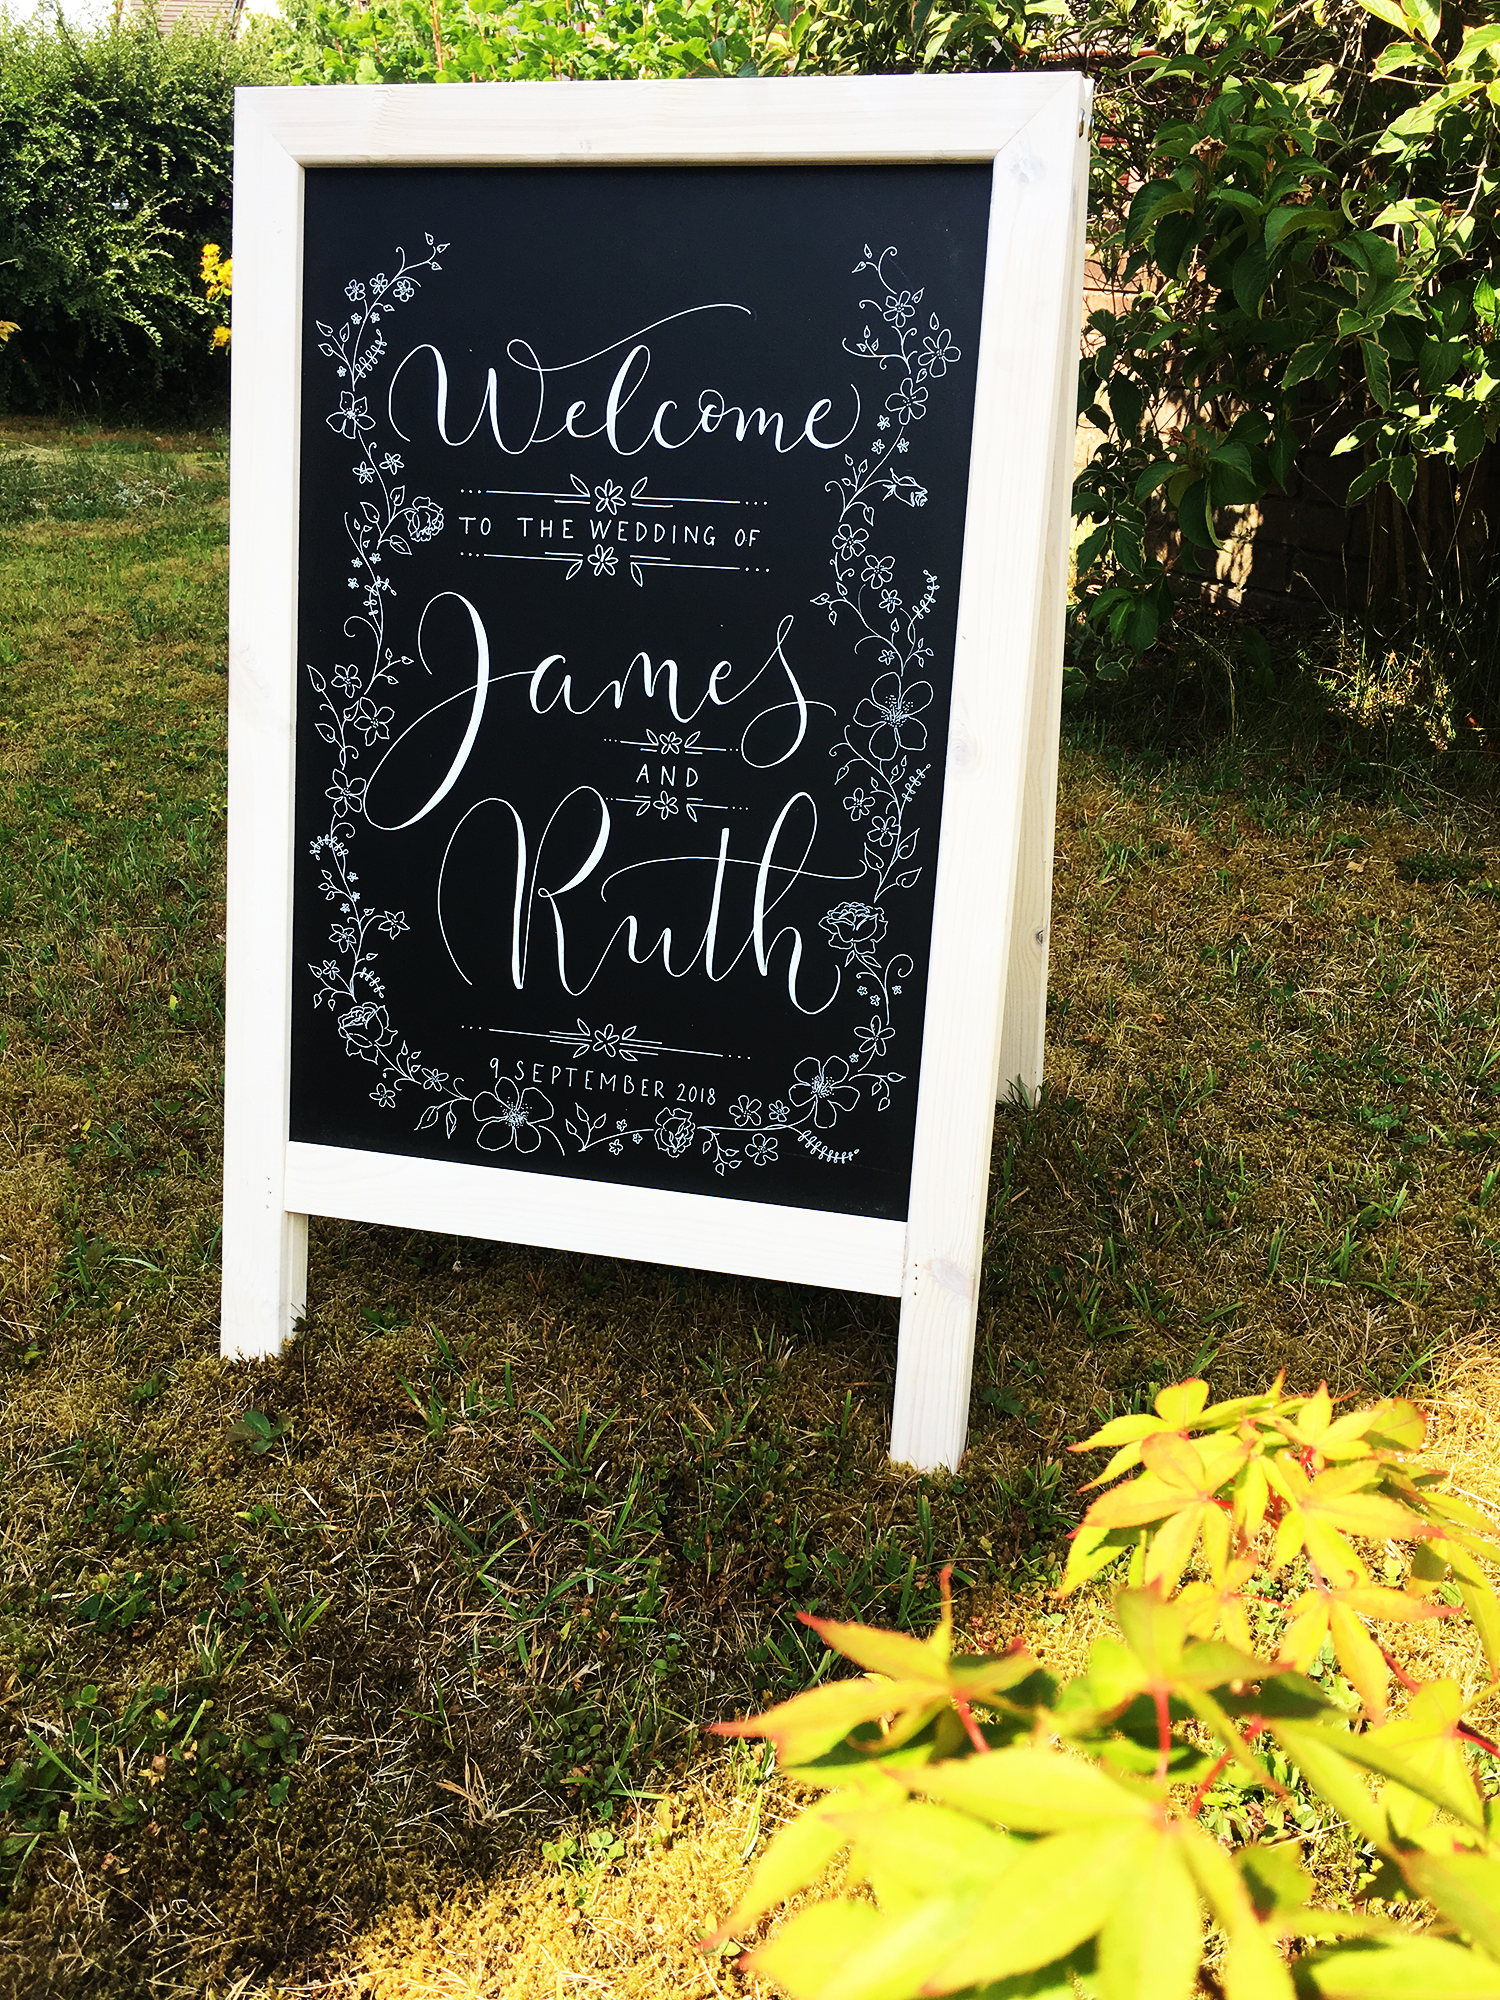
Writing chalkboard calligraphy – step by step
- Do a rough pencil sketch on paper
- Divide your layout into sections, e.g.
‘Welcome’ = 1/4 of the board
‘to the wedding of’ = 1/4 of the board
‘Charlie & Sam’ = 1/2 of the board - Measure the board and mark these sections lightly in pencil – using dots or tiny lines at the edge
- Using masking tape, divide the board into sections
- You probably won’t want to write exactly where the dividing lines of tape are, so use more tape to create lines to ‘write on’
- Very gently, and in a soft (e.g. 7B) pencil, draw your letters to make sure you have enough space
- Write outlines of your words with the POSCA pen, then thicken what would be downwards strokes by adding more white ink to the sides of the letters. You may find this is easier after the ink dries
- Remove your masking tape and voilà! A beautiful wedding chalkboard sign